Setting Up Your Own Standalone Desktops
The process for creating Standalone Desktops goes like this:
- Head up to the top menu and click on 'Standalones'
- Select 'Create New Standalone' Desktop
- A dialogue box will pop up, looking like this
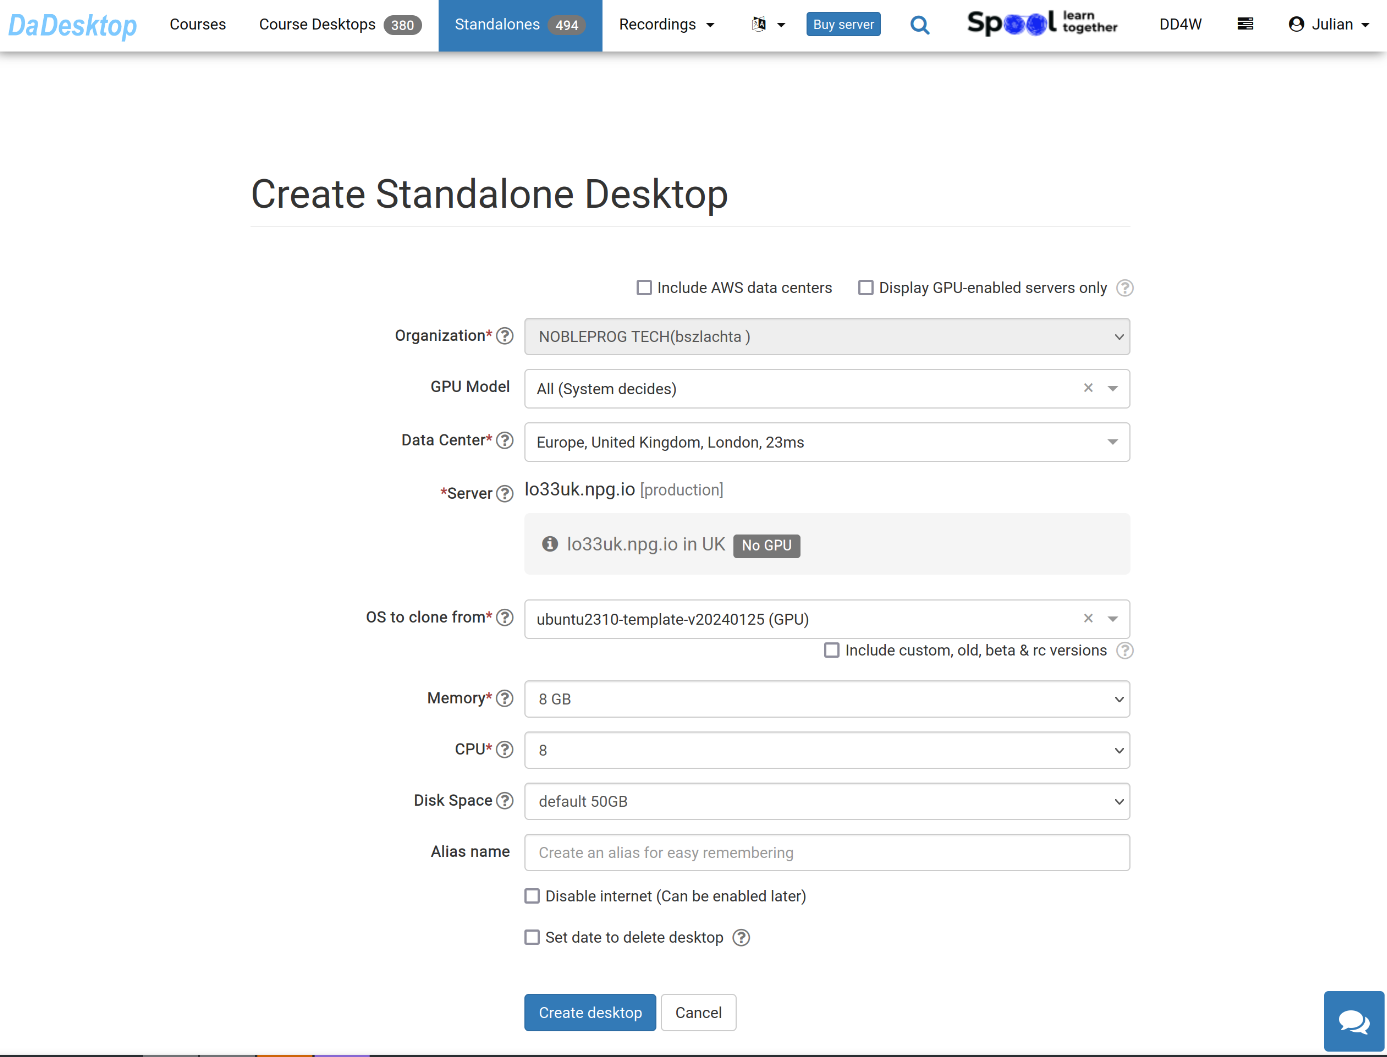
Here's a rundown of what each field means:
-
GPU Model
Pick the GPU model and type you need. If you tick the 'Display GPU enabled servers' box, only servers that have a GPU will show up -
Datacentre / Server
Choose the datacentre region and server that's physically closest to you -
OS to clone from
You've got several different Operating Systems to pick from.
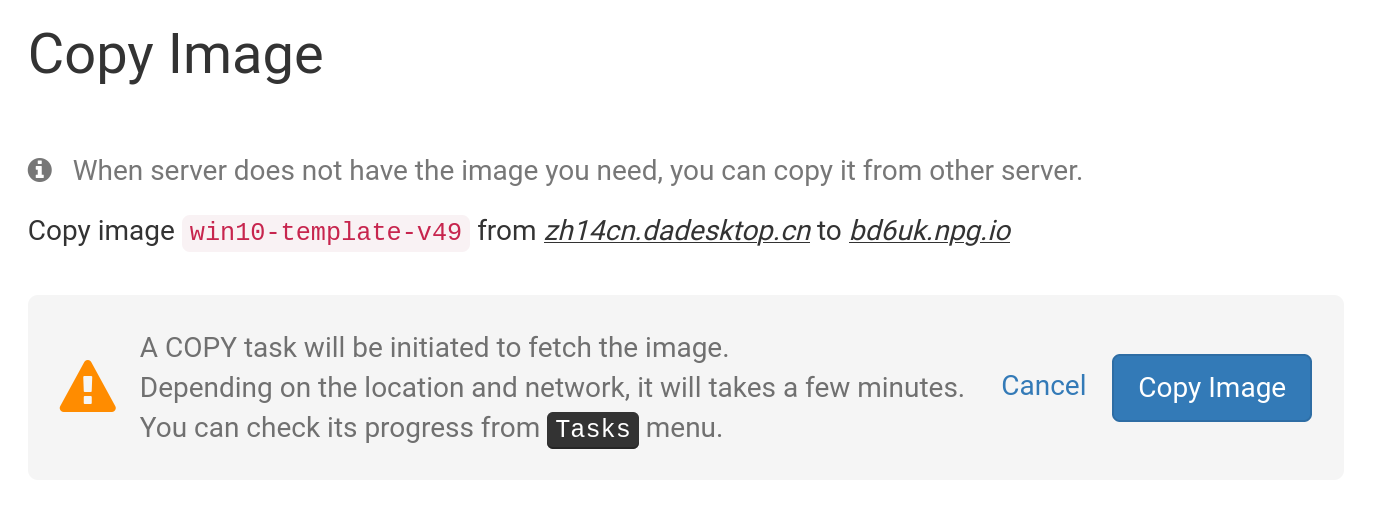
When a template is marked 'Copy Required', it means the template exists but needs to be copied over to that Server first before you can use it. Usually, only Windows OS templates might come with additional charges. -
Include Custom, RC, and Old Versions
DaDesktop keeps OS templates refreshed on the regular, but if you run into any hiccups with the newest release, you might want to give an older version a shot
-
Memory
This sets a cap on how much memory your desktops can use. Keep in mind that you're bound by the server's total resources as a default. Different servers come with different memory limits. To bump these up, just reach out via our Support Chat. -
Label
Pop in an Alias if you want to tag your standalone with a simpler, more memorable label.
Choosing an OS Template to Clone
You've got a bunch of options when it comes to picking and setting up which Operating System Template to base your build on.
You can go with Windows, or explore a range of Linux distros like Ubuntu, Debian, Almalinux, and more.
A pre-built template, usually labelled with a version code such as VXX (for instance, V51), is ready to go.
On the flip side, we've also rolled out the option to construct fully current Linux templates. The 'Build New' Linux templates tap into a totally different build pipeline, pulling from the Linux sources and pairing them with a script that bakes in the key DaDesktop customizations. The result? A template that's always bang up to date, completely secure, and simpler to deploy and manage.
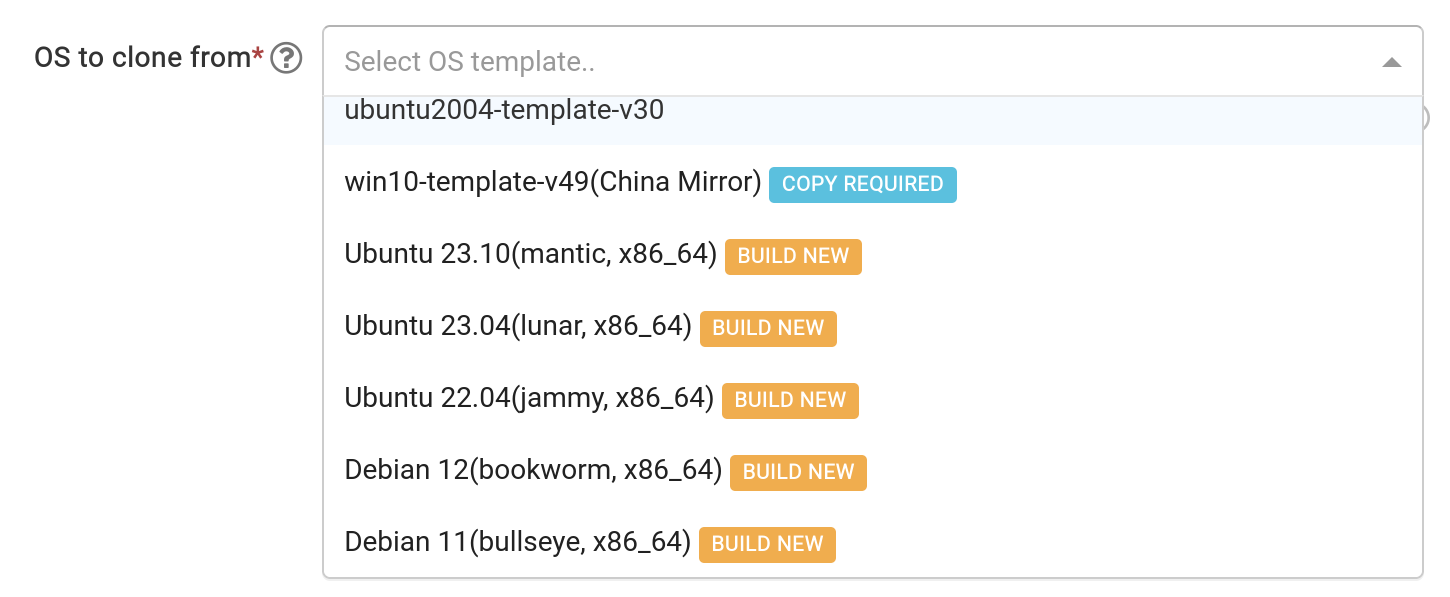
Putting Together an OS Template
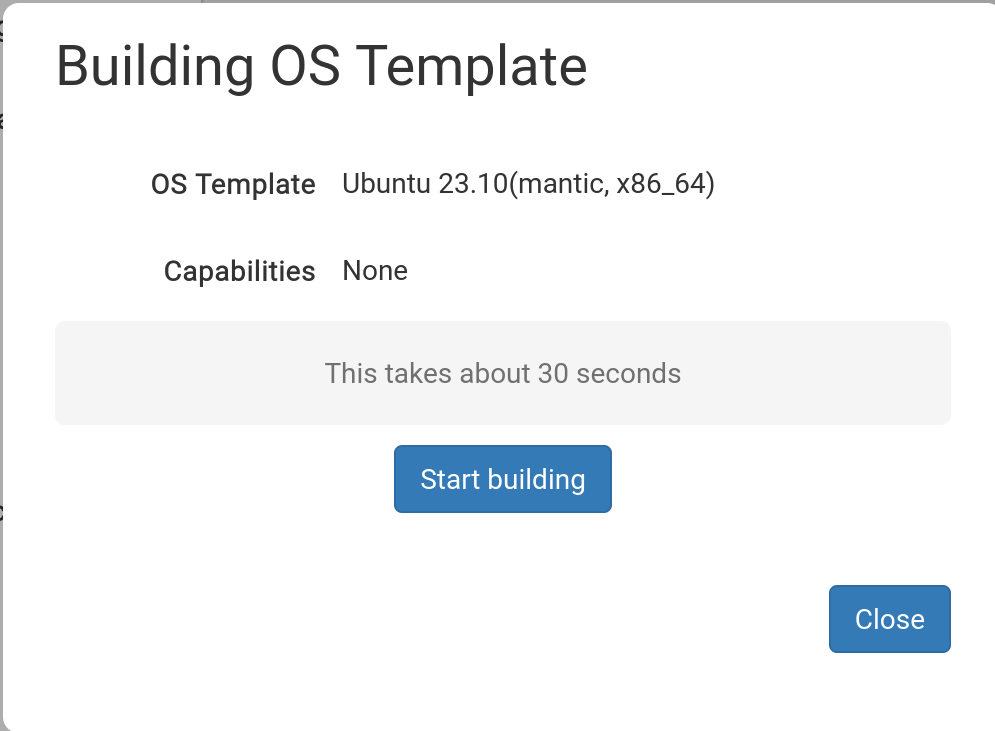
Once you've chosen the template you need, the pop-up below will appear.
Hit 'Start Building'
Your standalone will then be assembled for you. Bear in mind that the build might take longer than half a minute, and if things seem to hang for a bit, just sit tight a little while longer.
Your Template's Now Ready

With the template built, you can tweak any settings as needed, then click: 'Save and Create Desktop'.
Your Standalone is spinning up now — this usually just takes a few moments, way faster than constructing the template itself.
Your brand new Standalone is good to go. In the example below, it's named 'julian-6iqm', though I could've slapped a more descriptive label on it if I wanted.
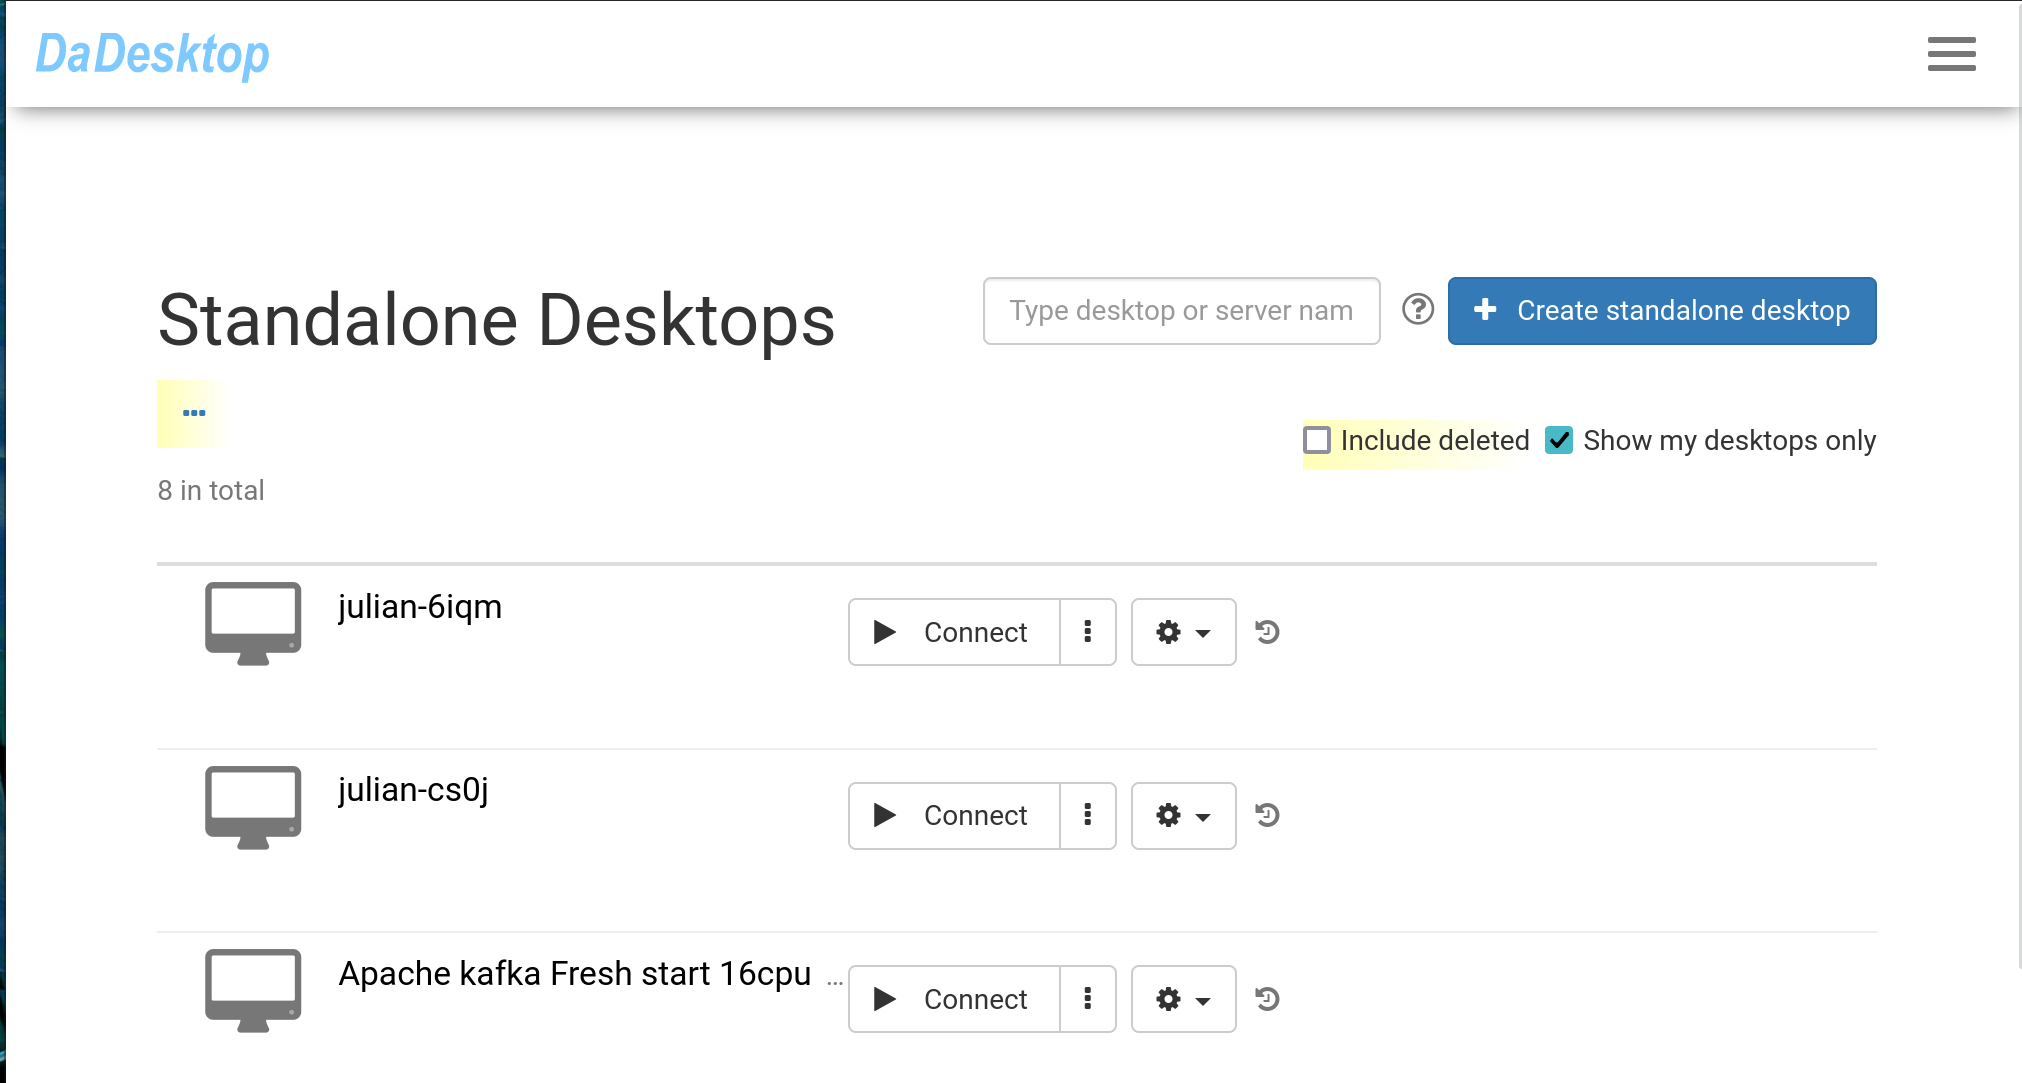
Click 'Connect' to fire up and jump into your Standalone machine.